本文将会介绍如何使用机器学习框架AutoTrain,不用写一行代码,就能轻松实现人脸识别任务。
在文章OpenCV神技——人脸检测,猫脸检测 中,笔者初次接触OpenCV和人脸检测,从此就对人脸识别任务很感兴趣。
在文章目标检测初体验(二)自制人脸检测功能 中,笔者使用darknet框架以及YOLO模型,来自己训练和推理人脸识别模型。这次自己训练模型让人倍感兴奋,但darknet框架并不是很好用。
在文章NLP(一百零一)Embedding模型微调实践 中,笔者初次接触AutoTrain框架,对其强大的功能印象深刻,因此希望有机会能再次尝试这个框架。
本文将会再次使用AutoTrain框架,对Wider
Face数据集(人脸识别数据集)进行微调,不用写一行模型训练代码,就能轻松实现人脸识别任务。
数据集探索
本文使用的人脸识别的数据集为Wider Face数据集,参考网址为
http://shuoyang1213.me/WIDERFACE/index.html
,该网址收集了大量人脸检测的标注数据和图像。在HuggingFace上有对应的数据集,笔者对其进行预处理,就得到了适合AutoTrain框架使用的数据集格式。
因此,本文使用的人脸识别数据集为HuggingFace中的项目:jclian91/autotrain-wider-face ,其网址为
https://huggingface.co/datasets/jclian91/autotrain-wider-face 。
在数据集中,共有12,880张图片作为训练集,3,226张图片作为验证集,该数据集的标注格式为标准的COCO数据集标注格式,即(x,
y, w, h),其中x,y为人脸矩形区域的左上角横纵坐标,w,
h为人脸矩形区域的宽度和高度。
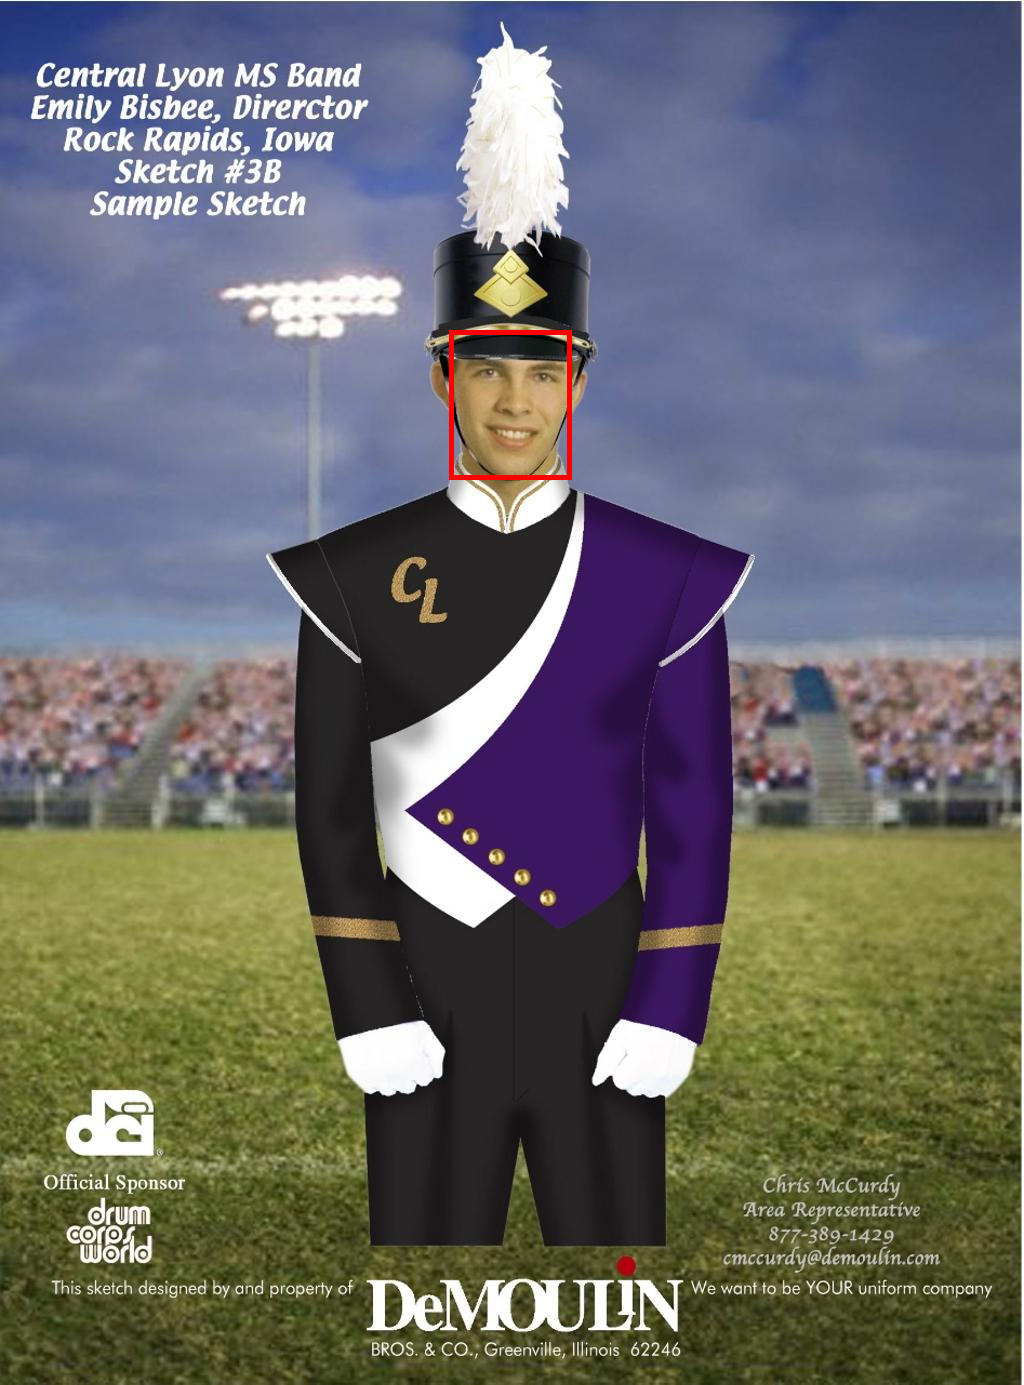
我们尝试着在第一个样本中绘制人脸所在的矩形区域,示例Python代码如下:
1 2 3 4 5 6 7 8 9 10 11 12 13 from datasets import load_datasetfrom PIL import ImageDraw"jclian91/autotrain-wider-face" )['train' ]0 ]['image' ]0 ]['faces' ]['bbox' ][0 ]0 ], bbox[1 ], bbox[0 ]+bbox[2 ], bbox[1 ]+bbox[3 ]), outline=(255 , 0 , 0 ), width=5 )"wider_face_demo.jpg" )
输出结果如下:
示例图片人脸识别标注结果
模型训练
接下来,我们使用AutoTrain框架对这个数据集进行微调。
我们选择的基座模型为facebook/detr-resnet-50,模型训练的配置文件(config.yml)如下:
1
2
3
4
5
6
7
8
9
10
11
12
13
14
15
16
17
18
19
20
21
22
23
24
25
26
task: object_detection base_model: facebook/detr-resnet-50 project_name: autotrain-face-detection log: tensorboard backend: local data: path: jclian91/autotrain-wider-face train_split: train valid_split: validation column_mapping: image_column: image objects_column: objects params: image_square_size: 600 epochs: 20 batch_size: 32 lr: 5e-5 weight_decay: 1e-4 optimizer: adamw_torch scheduler: linear gradient_accumulation: 2 mixed_precision: fp16 early_stopping_patience: 50 early_stopping_threshold: 0.001
模型训练命令为CUDA_VISIBLE_DEVICES=0 autotrain --config config.yml。(单张GPU进行模型训练)
耐心等待模型训练,整个构成大概持续几个小时,训练好的模型保存在autotrain-face-detection目录中。
关于模型训练中存在的坑,可查阅本文中的参考文献,这里主要演示AutoTrain的功能,不再详述。
模型推理
对于上述微调过后的人脸识别模型,我们使用以下代码进行模型推理,Python代码如下:
1
2
3
4
5
6
7
8
9
10
11
12
13
14
15
16
17
18
19
20
21
22
23
24
25
26
27
28
29
30
31
32
33
from transformers import DetrImageProcessor, DetrForObjectDetectionimport torchfrom PIL import Image, ImageDrawimport requests"https://images.newscientist.com/wp-content/uploads/2021/12/14103104/PRI_214947217.jpg" open (requests.get(url, stream=True ).raw)"cuda" if torch.cuda.is_available() else "cpu" "/workspace/code/autotrain_exp/autotrain-face-detection" "no_timm" )"no_timm" ).to(device)"pt" ).to(device)1 ]])0.9 )[0 ]for score, label, box in zip (results["scores" ], results["labels" ], results["boxes" ]):round (i, 2 ) for i in box.tolist()]print (f"Detected {model.config.id2label[label.item()]} with confidence " f"{round (score.item(), 3 )} at location {box} " 0 ], box[1 ], box[2 ], box[3 ]), outline=(255 , 0 , 0 ), width=3 )'sample.png' )
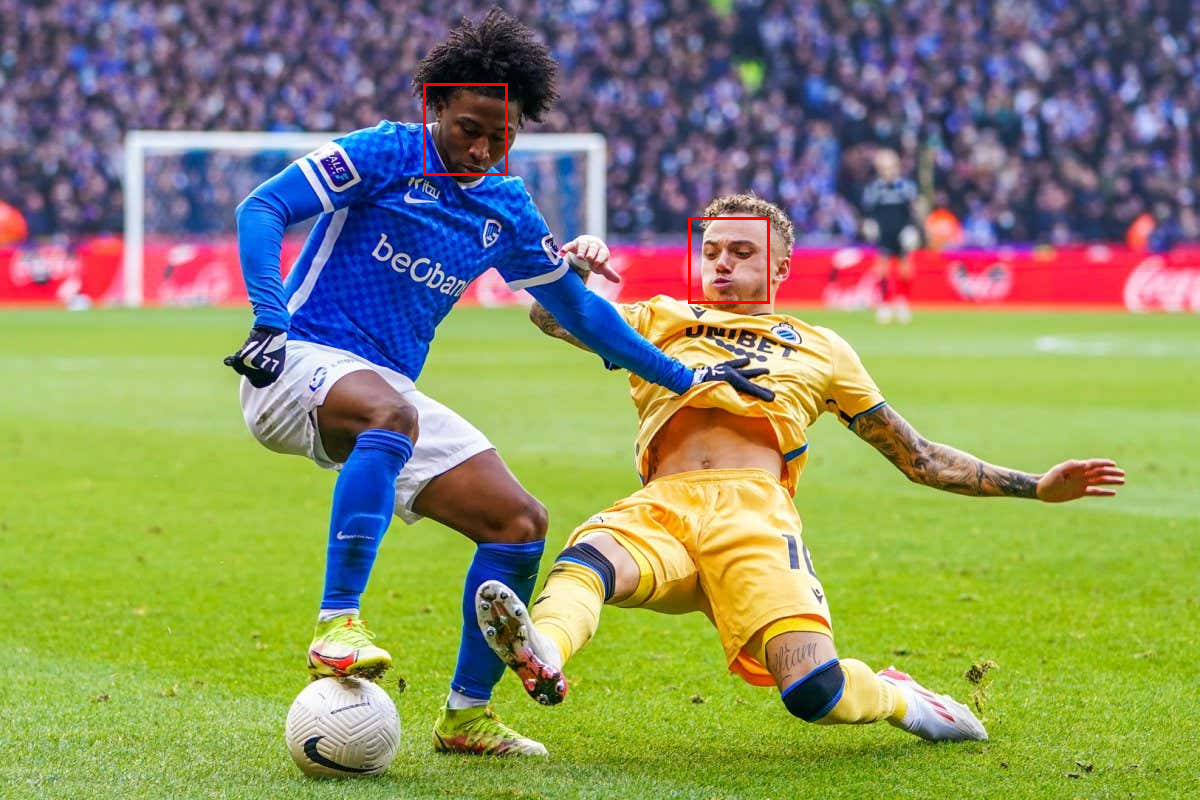
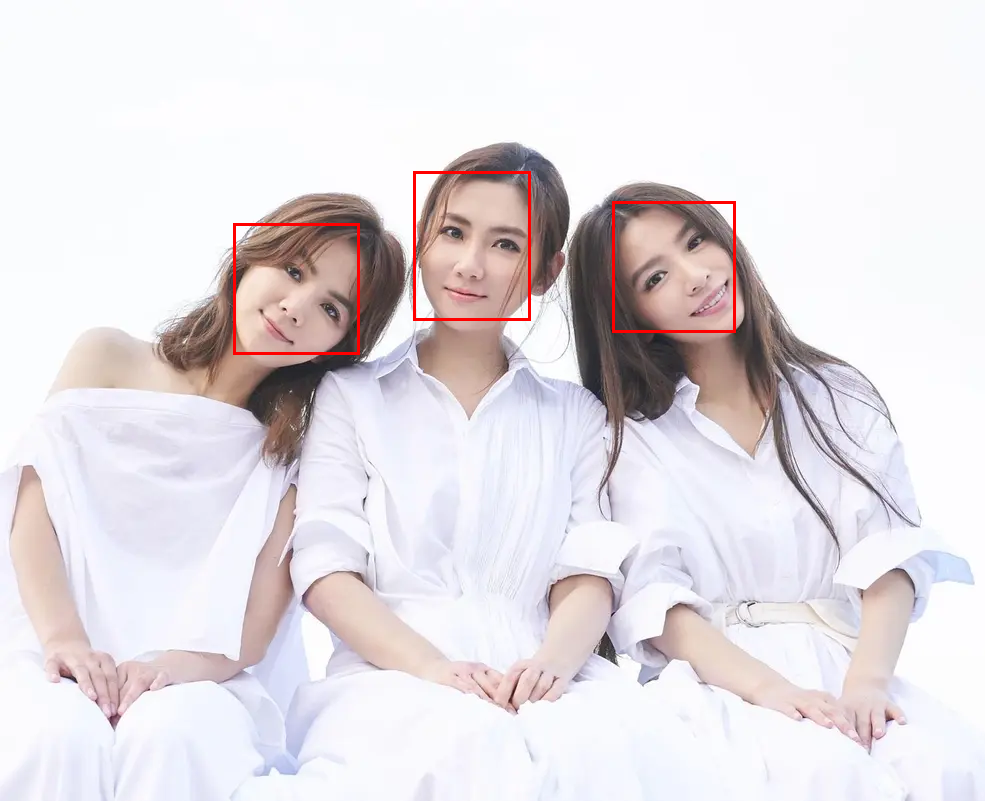
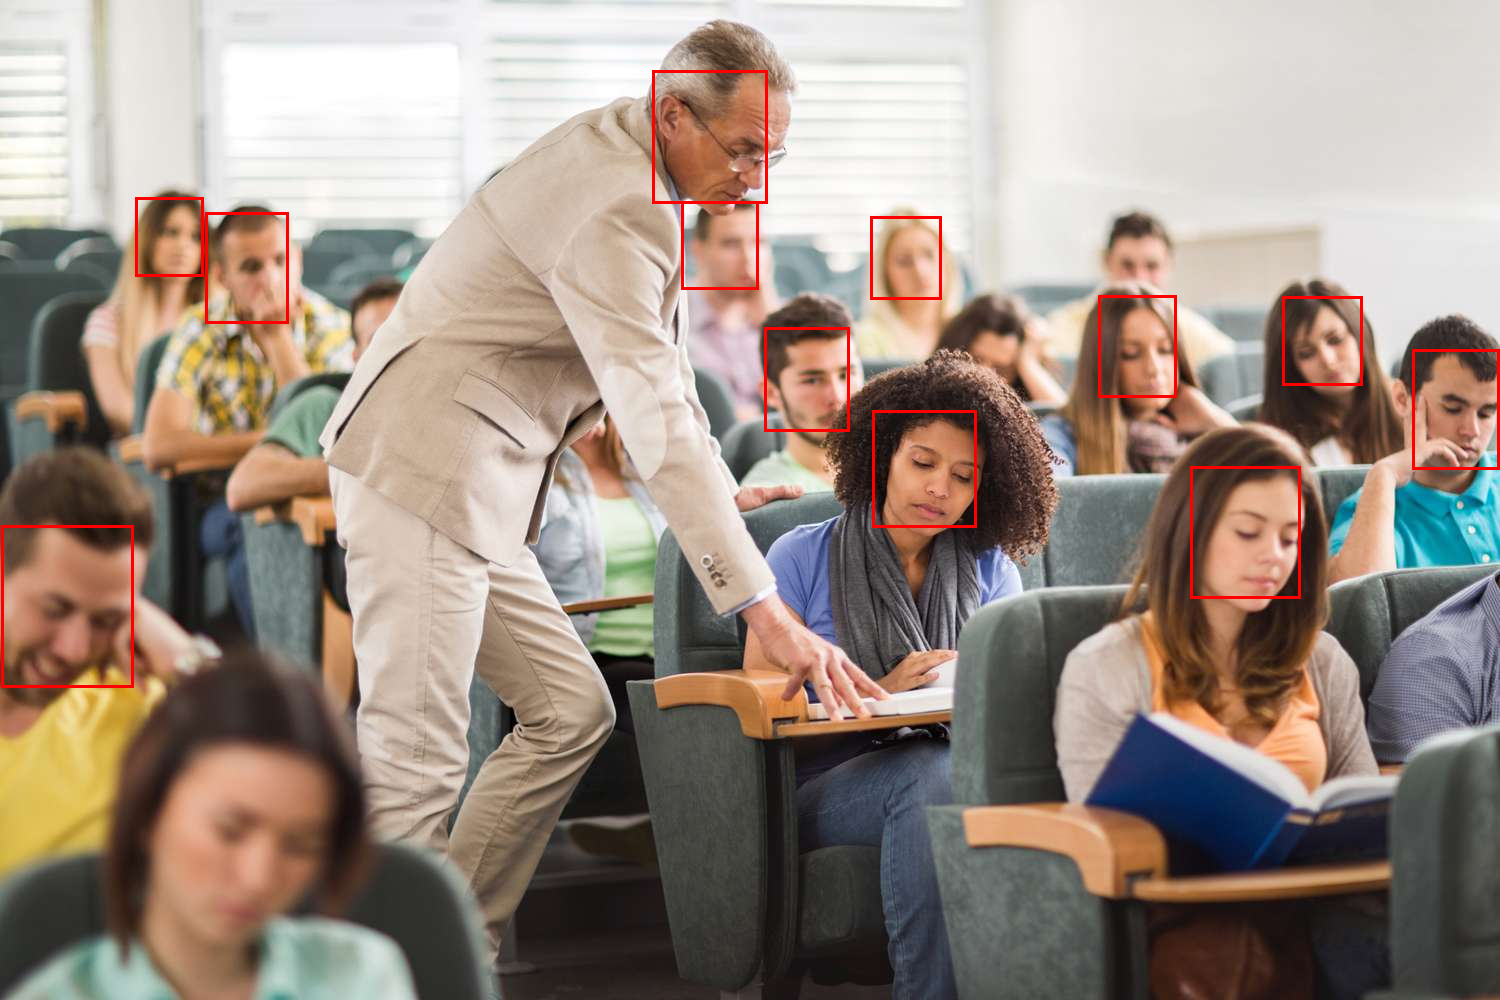
以下是几张示例图片的人脸识别结果:
示例预测图片1
示例预测图片2
示例预测图片3
总结
人脸识别已经是一个高度成熟的AI项目了,很多模型甚至能达到99.9%的识别准确率了。
本文的目的并不是给出一个效果很好的模型,其重点在于介绍如何使用AutoTrain框架,不写一行代码,轻松实现人脸识别模型,同时又能取得很好地效果。
关于人脸识别的原理或模型训练的文章已经很多了,本文的新意在于不写代码使用AutoTrain框架就能完成模型训练任务。
参考文献
OpenCV神技——人脸检测,猫脸检测 目标检测初体验(二)自制人脸检测功能 NLP(一百零一)Embedding模型微调实践 Training an Object Detection Model with AutoTrain: https://huggingface.co/blog/abhishek/object-detection-autotrain
facebook/detr-resnet-50: https://huggingface.co/facebook/detr-resnet-50


