Kafka入门(二)ELK遇上Kafka:日志分析最佳实践

本文将会介绍如何在ELK框架中加入Kafka,使得日志采集系统更加健壮。

笔者在前年底的文章ELK学习笔记(三)Beats家族中,介绍了ELK框架中的Beats家族,但当时的框架中并未加入任何消息队列的组件。

在本文中,笔者将会在ELK框架中加入Kafka,使得日志采集系统更加健壮,流程图如下:

Kafka启动

在文章Kafka入门(一)Kafak介绍、安装与简单使用中,笔者介绍了Kafka的简单操作,包括安装、基础命令以及在Python中如何使用。

在本文中,笔者将沿用上文的方式,即在本地系统中直接启动软件,启动的方式不在此赘述,有困惑的文章可以参考文章文章Kafka入门(一)Kafak介绍、安装与简单使用

在本地启动Kafka后,新建topic,用于日志采集,其中topic的名称为flask-log生产者一方为Beats家族,它负责对本地日志进行采集;消费者一方为Logstash,它负责对日志进行加工处理,然后写入ElasticSearch中。

新建topic命令如下:

1
$ ./kafka-topics.sh --create --bootstrap-server localhost:9092 --replication-factor 1 --partitions 1 --topic flask-log

ELK配置

对于ELK框架,笔者仍采用Docker Compose方式启动,其中docker-compose.yml文件如下:

1
2
3
4
5
6
7
8
9
10
11
12
13
14
15
16
17
18
19
20
21
22
23
24
25
26
27
28
29
30
31
32
33
34
35
36
37
38
39
40
41
42
43
44
45
46
47
48
49
50
51
52
53
54
55
56
57
58
59
60
61
62
63
64
version: "3.1"
services:
filebeat:
container_name: video-filebeat
image: elastic/filebeat:8.13.0
restart: always
user: root
volumes:
- ./filebeat/logs:/usr/share/filebeat/target
- ./filebeat/filebeat.yml:/usr/share/filebeat/filebeat.yml
- ./filebeat/data:/usr/share/filebeat/data
ports:
- "9000:9000"
networks:
- filebeat_elk_net

logstash:
container_name: logstash-8.13.0
image: docker.elastic.co/logstash/logstash:8.13.0
volumes:
- ./logstash/config/logstash.yml:/usr/share/logstash/logstash.yml
- ./logstash/data:/usr/share/logstash/data
- ./logstash/pipeline:/usr/share/logstash/pipeline
ports:
- "5044:5044"
networks:
- filebeat_elk_net
depends_on:
- filebeat
- elasticsearch

elasticsearch:
container_name: elasticsearch-8.13.0
image: elasticsearch:8.13.0
environment:
- "ES_JAVA_OPTS=-Xms1024m -Xmx1024m"
- "http.host=0.0.0.0"
- "node.name=elastic01"
- "cluster.name=cluster_elasticsearch"
- "discovery.type=single-node"
- "xpack.security.enabled=false"
ports:
- "9200:9200"
- "9300:9300"
volumes:
- ./es/plugins:/usr/share/elasticsearch/plugins
- ./es/data:/usr/share/elasticsearch/data
networks:
- filebeat_elk_net

kibana:
container_name: kibana-8.13.0
image: kibana:8.13.0
ports:
- "5601:5601"
networks:
- filebeat_elk_net
depends_on:
- elasticsearch

# 网络配置
networks:
filebeat_elk_net:
driver: bridge

其中,filebeat组件中的配置文件filebeat.yml文件如下:

1
2
3
4
5
6
7
8
9
10
11
12
13
14
15
16
filebeat.inputs:
- type: log
enabled: true
paths:
- /usr/share/filebeat/target/*.log
fields:
topic: flask-log

output.kafka:
hosts: ["192.168.0.100:9092"]
topic: "%{[fields.topic]}" # 输出到kafka对应topic
partition.round_robin: # 开启kafka的partition分区
reachable_only: false
required_acks: 1
compression: gzip
max_message_bytes: 100000000

注意,在上述配置中,输入(inputs)的fields中设置Kafka的topic为flask-log,输出(output.kafka)的host并不是localhost,而是本地局域网的IP。

在Logstash组件中,配置文件logstash.conf如下:

1
2
3
4
5
6
7
8
9
10
11
12
13
14
15
16
17
18
19
20
21
22
23
24
25
26
27
28
29
30
31
32
33
34
35
36
37
38
39
40
41
42
43
44
input {
kafka {
codec => json
auto_offset_reset => "earliest"
topics => "flask-log" # 与kafka topic对应
consumer_threads => 1
bootstrap_servers => "192.168.0.100:9092"
}
}
filter {
# 只对cost_time所在列进行解析
if "cost_time" in [message] {
grok {
match => {
"message" => "%{TIMESTAMP_ISO8601:request_finish_time}-%{WORD:script}.py-%{WORD:module}-%{LOGLEVEL:loglevel}-api_endpoint: %{DATA:api_endpoint}, status: %{NUMBER:status:int}, cost_time: %{NUMBER:cost_time:float}"
}
}
# 使用mutate过滤器替换字符
mutate {
# 替换空格为T
gsub => [ "request_finish_time", " ", "T" ]
# 替换逗号为点
gsub => [ "request_finish_time", ",", "." ]
}

# 使用date过滤器解析和格式化日期
date {
match => [ "request_finish_time", "ISO8601" ]
}
}
else {
drop { }
}
}
output {
stdout {
codec => rubydebug
}
elasticsearch {
hosts => ["http://elasticsearch:9200"]
index => "flask_log"
action => "index"
}
}

在上述配置文件中,规定了输入来源为Kafka,并对日志数据制定了一系列的加工处理逻辑,具体不在此赘述,可参考文章ELK入门教程(一)

日志采集

至此,ELK框架中已经集成了Kafka这个消息队列组件。

接下来,我们使用Flask来产生Web服务日志,并使用上述工具来采集这些日志。

使用Flask部署的Web服务的Python代码如下:

1
2
3
4
5
6
7
8
9
10
11
12
13
14
15
16
17
18
19
20
21
22
23
24
25
26
27
28
29
30
31
32
33
34
35
36
37
38
39
40
41
42
43
44
45
46
47
48
49
50
51
52
53
54
55
56
# -*- coding: utf-8 -*-
import time
import random
from flask import Flask, Response
import logging

logging.basicConfig(filename='../filebeat/logs/flask.log',
level=logging.DEBUG,
format='%(asctime)s-%(filename)s-%(funcName)s-%(levelname)s-%(message)s')
logger = logging.getLogger()

app = Flask("elk_test")


@app.route('/')
def index():
t1 = time.time()
logger.info(f"api_endpoint: /, status: 200, cost_time: {(time.time() - t1) * 1000}")
return "Hello index", 200


@app.route("/io_task")
def io_task():
t1 = time.time()
time.sleep(2)
logger.info(f"api_endpoint: /io_task, status: 200, cost_time: {(time.time() - t1) * 1000}")
return "IO bound task finish!", 200


@app.route("/cpu_task")
def cpu_task():
t1 = time.time()
for i in range(10000):
n = i*i*i
logger.info(f"api_endpoint: /cpu_task, status: 200, cost_time: {(time.time() - t1) * 1000}")
return "CPU bound task finish!", 200


@app.route("/random_sleep")
def random_sleep():
t1 = time.time()
time.sleep(random.randint(0, 5))
logger.info(f"api_endpoint: /random_sleep, status: 200, cost_time: {(time.time() - t1) * 1000}")
return "random sleep", 200


@app.route("/random_status")
def random_status():
t1 = time.time()
status_code = random.choice([200] * 6 + [300, 400, 400, 500])
logger.info(f"api_endpoint: /random_status, status: {status_code}, cost_time: {(time.time() - t1) * 1000}")
return Response("random status", status=status_code)


if __name__ == '__main__':
app.run(host="0.0.0.0", port=5000, debug=False)

启动后,我们使用如下Shell命令来模拟HTTP请求,内容如下:

1
2
3
4
5
6
7
8
9
10
TIMES=5
for i in $(eval echo "{1..$TIMES}")
do
siege -c 1 -r 10 http://localhost:5000/
siege -c 1 -r 5 http://localhost:5000/io_task
siege -c 1 -r 5 http://localhost:5000/cpu_task
siege -c 1 -r 3 http://localhost:5000/random_sleep
siege -c 1 -r 10 http://localhost:5000/random_status
sleep 5
done

最后,让我们来看下在Kafka和ElasticSearch中都发生了什么变化。

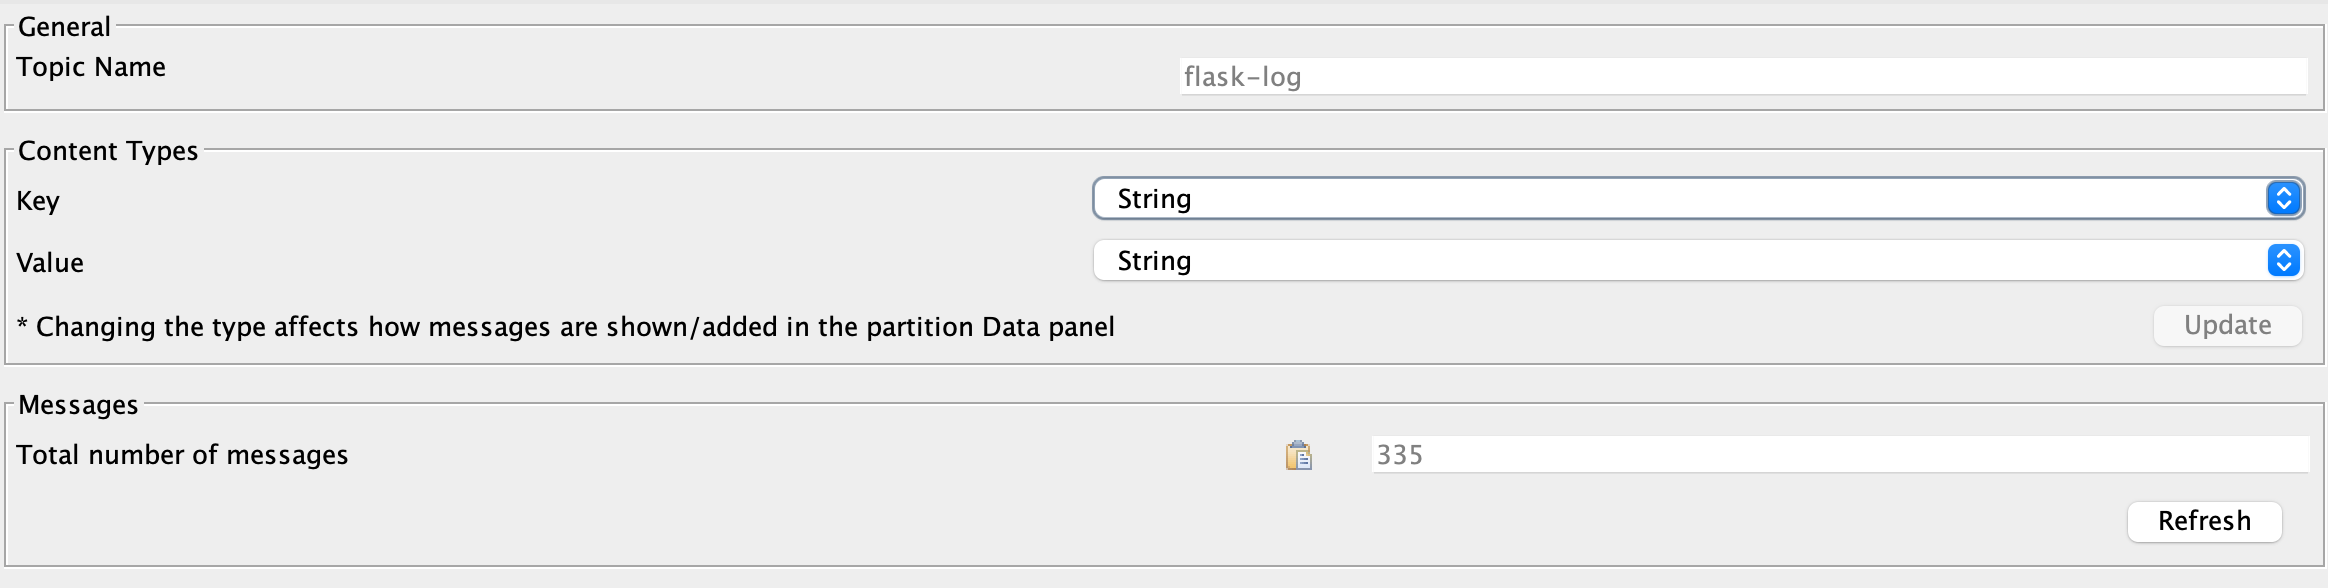
flask.log文件中共有335条日志记录。

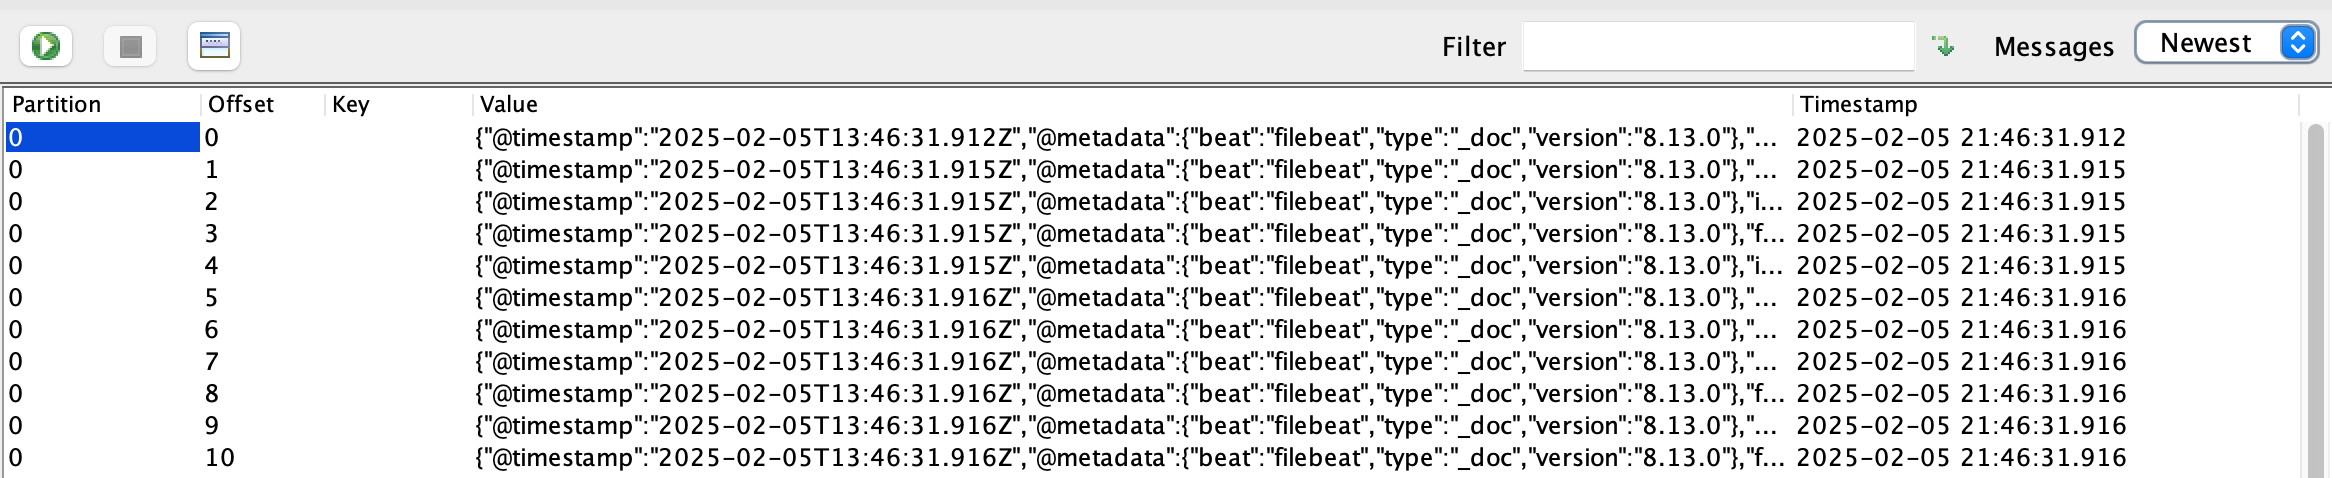
Kafka中的flask-log这个topic中共有335条消息。

elk_kafka_3.png
elk_kafka_4.png

在ElasticSearch中查看flask_log这个索引,共有165个文档,对应最后一条日志的文档如下:

1
2
3
4
5
6
7
8
9
10
11
12
13
14
15
16
17
18
19
20
21
22
23
24
25
26
27
28
29
30
31
32
33
34
35
36
37
38
39
40
41
42
43
44
45
46
47
48
{
"_index": "flask_log",
"_id": "ErFc1pQBwke8ZaWb8rok",
"_score": 1,
"_ignored": [
"event.original.keyword"
],
"_source": {
"event": {
"original": """{"@timestamp":"2025-02-05T13:46:31.924Z","@metadata":{"beat":"filebeat","type":"_doc","version":"8.13.0"},"fields":{"topic":"flask-log"},"ecs":{"version":"8.0.0"},"host":{"name":"d7b0a0d94e40"},"agent":{"type":"filebeat","version":"8.13.0","ephemeral_id":"b8d2e52b-b1c5-427e-bedc-5123840fc031","id":"66ae7442-4171-4975-b1a6-181771b3c11c","name":"d7b0a0d94e40"},"log":{"file":{"path":"/usr/share/filebeat/target/flask.log"},"offset":37857},"message":"2025-02-05 21:45:58,589-server.py-random_status-INFO-api_endpoint: /random_status, status: 400, cost_time: 0.00095367431640625","input":{"type":"log"}}"""
},
"request_finish_time": "2025-02-05T21:45:58.589",
"message": "2025-02-05 21:45:58,589-server.py-random_status-INFO-api_endpoint: /random_status, status: 400, cost_time: 0.00095367431640625",
"log": {
"offset": 37857,
"file": {
"path": "/usr/share/filebeat/target/flask.log"
}
},
"host": {
"name": "d7b0a0d94e40"
},
"ecs": {
"version": "8.0.0"
},
"script": "server",
"status": 400,
"agent": {
"id": "66ae7442-4171-4975-b1a6-181771b3c11c",
"version": "8.13.0",
"name": "d7b0a0d94e40",
"ephemeral_id": "b8d2e52b-b1c5-427e-bedc-5123840fc031",
"type": "filebeat"
},
"fields": {
"topic": "flask-log"
},
"api_endpoint": "/random_status",
"@version": "1",
"module": "random_status",
"@timestamp": "2025-02-05T21:45:58.589Z",
"input": {
"type": "log"
},
"cost_time": 0.00095367431640625,
"loglevel": "INFO"
}
}

总结

本文主要介绍了如何在ELK框架中集成Kafka,并使用Flask Web日志来作为演示例子来介绍日志的完整处理链路。

后续笔者将会更加深入地介绍Kafka及其相关用途,欢迎关注~


Kafka入门(二)ELK遇上Kafka:日志分析最佳实践
https://percent4.github.io/Kafka入门(二)ELK遇上Kafka:日志分析最佳实践/
作者
Jclian91
发布于
2025年2月21日
许可协议